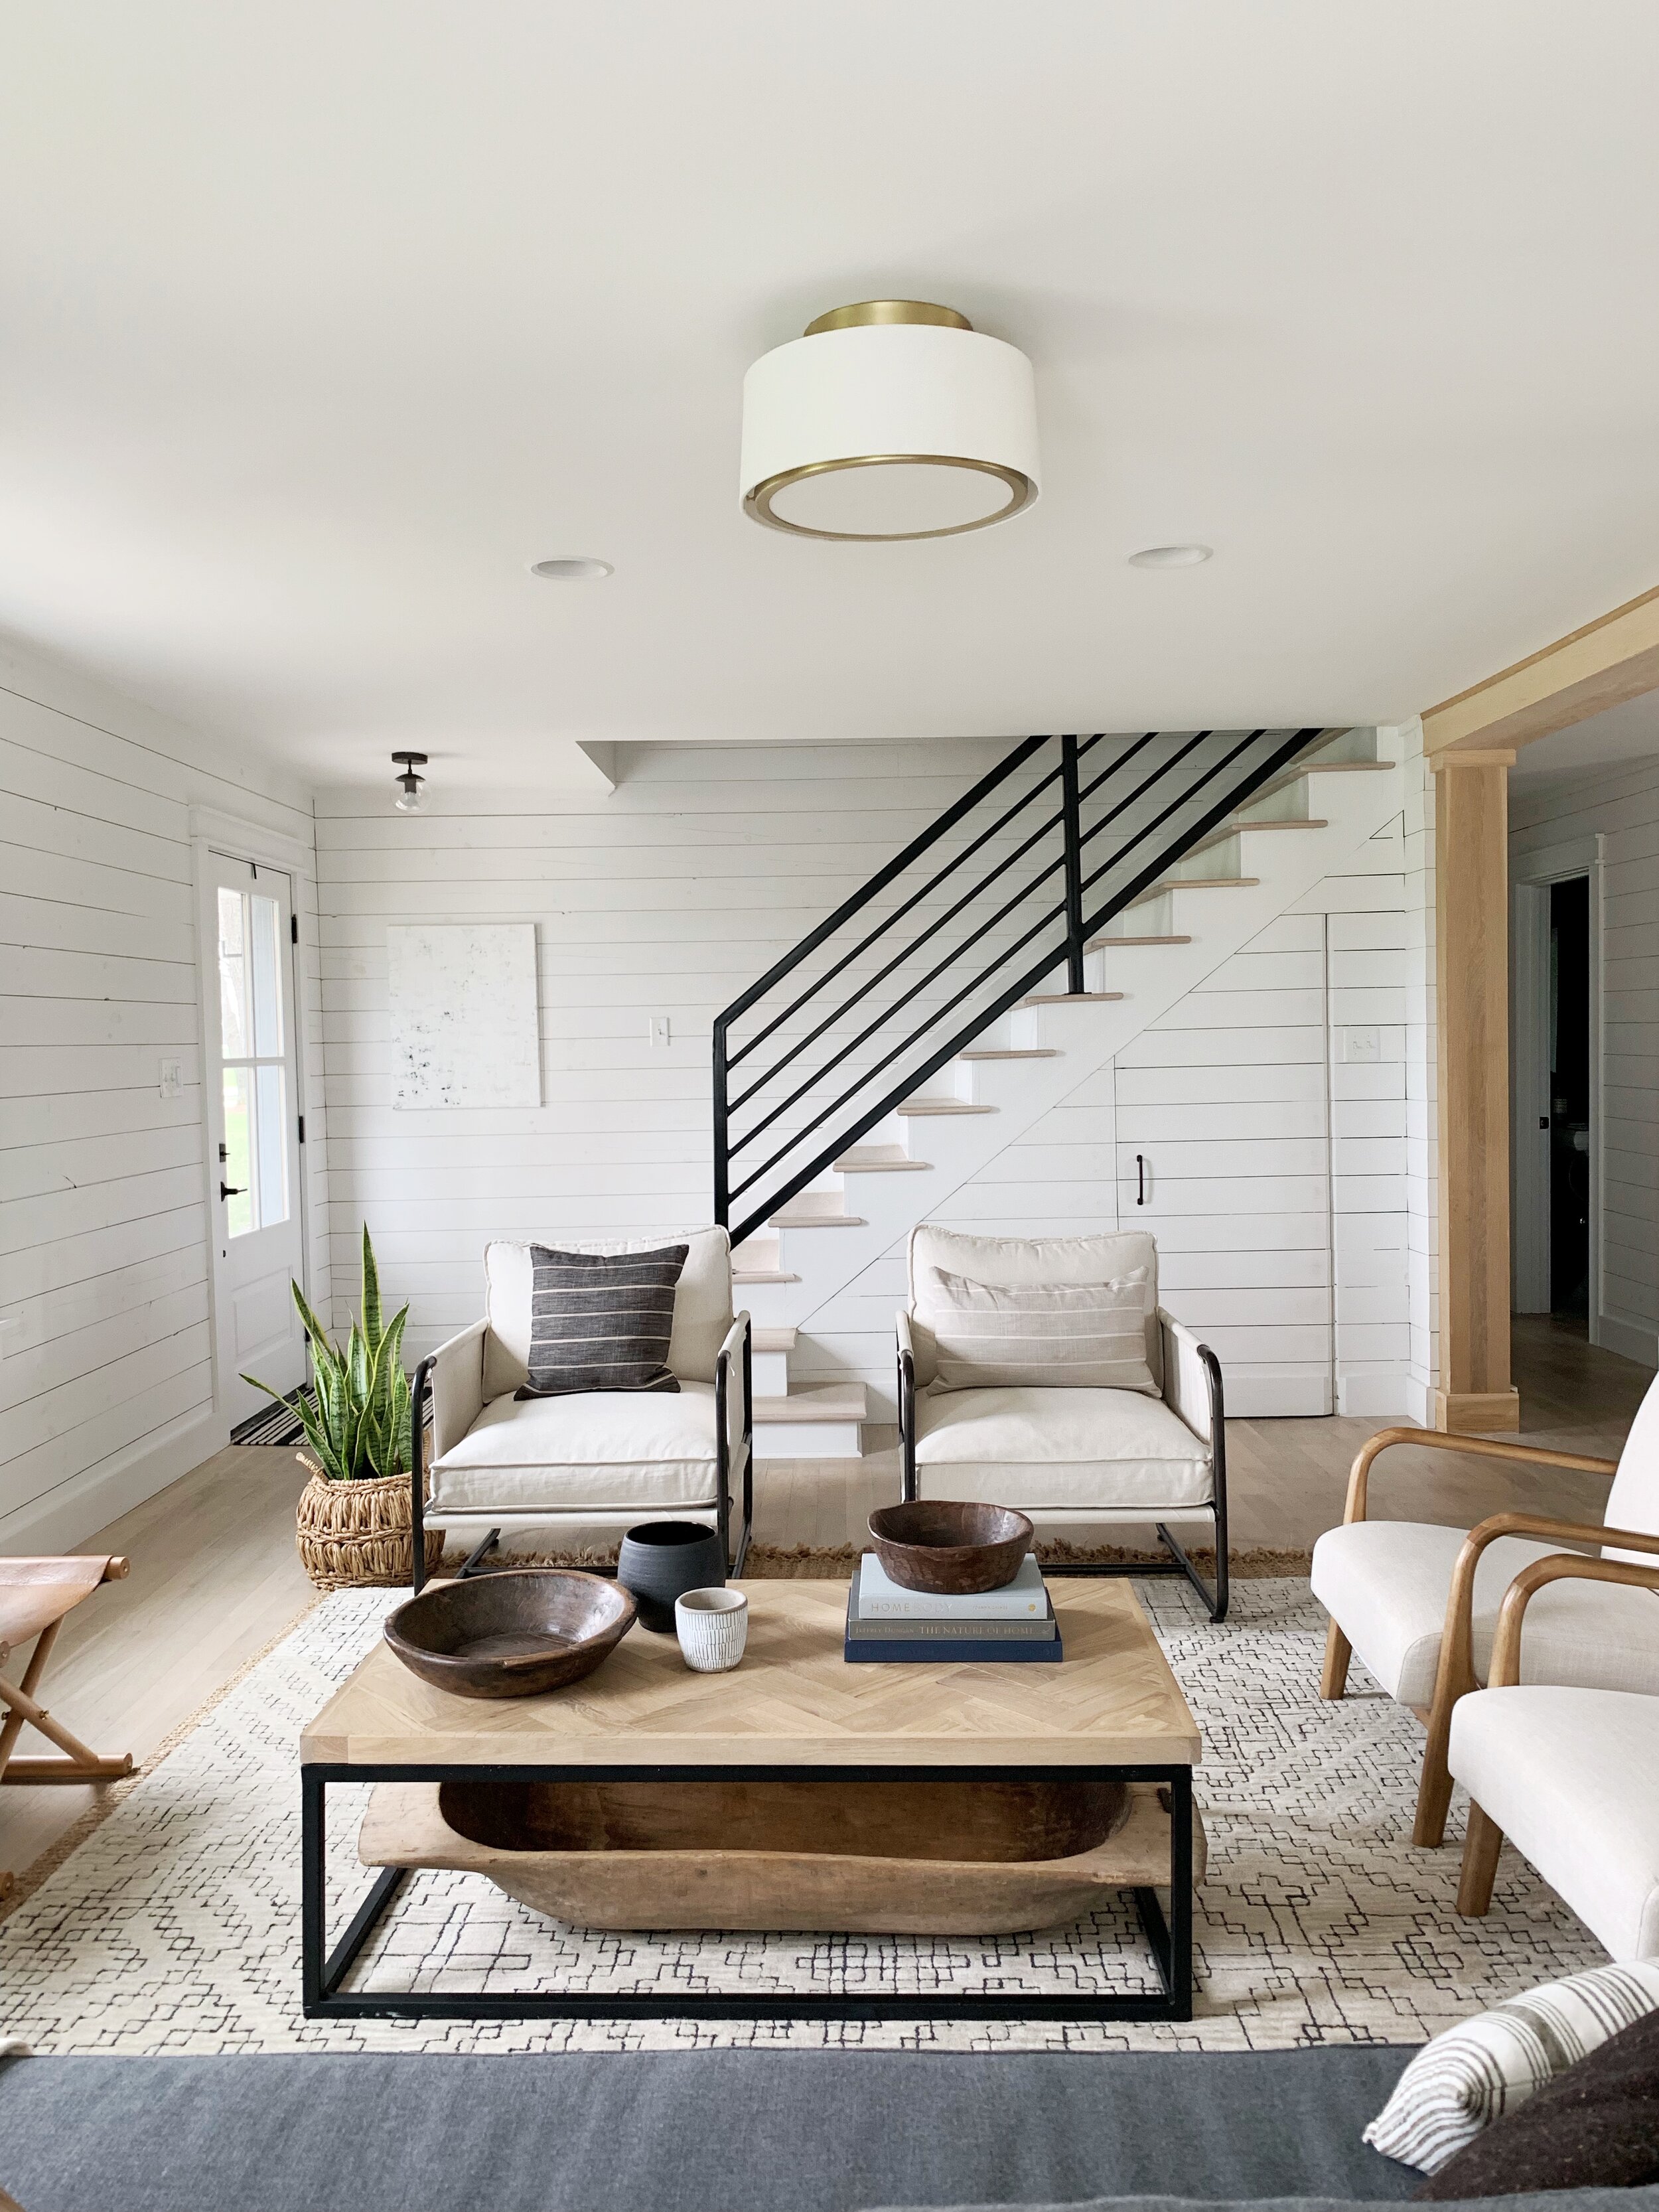
Matlock family room transformation
Are you in the throes of a renovation project? Need a little design help to pull it all together? Let’s chat! Book a virtual design consult here and we’ll make your vision a reality.
When we purchased the Matlock house we really didn’t give much thought to what it looked like or even the bones of the home. We liked the road and the property so we just went for it, knowing we were planning to completely gut it.

Here is where we started with the family room. Of course, first things first, where is the tv and furniture going to go? I’m a huge proponent of taping off furniture placement in a room, even if you have a space plan. Seeing it taped off in the actual room always helps define the space and visualize the best sizing and placement of furniture. I always recommend my clients do this.

Although I found this house as soon as it went on the market, it had been vacant for a while so it came complete with ants, lots of ants and other not so desirable things.

Since we were living in a rental during the remodel we came over every chance we had to get some work done. All hands on deck. We demoed the drywall, carpet and took down a few walls to open up the space and create a better flow.

This wall separated the living room, family room and kitchen. Our plan was to open it up so when walking in the front door (behind me in this photo) we could see all the living spaces. Since this was a load bearing wall, we either had to replace with a beam large enough to support this space or a beam with columns. The expense of just the structural beam didn’t seem to justify the cost so we went with 2 columns to separate the spaces but still have everything open.
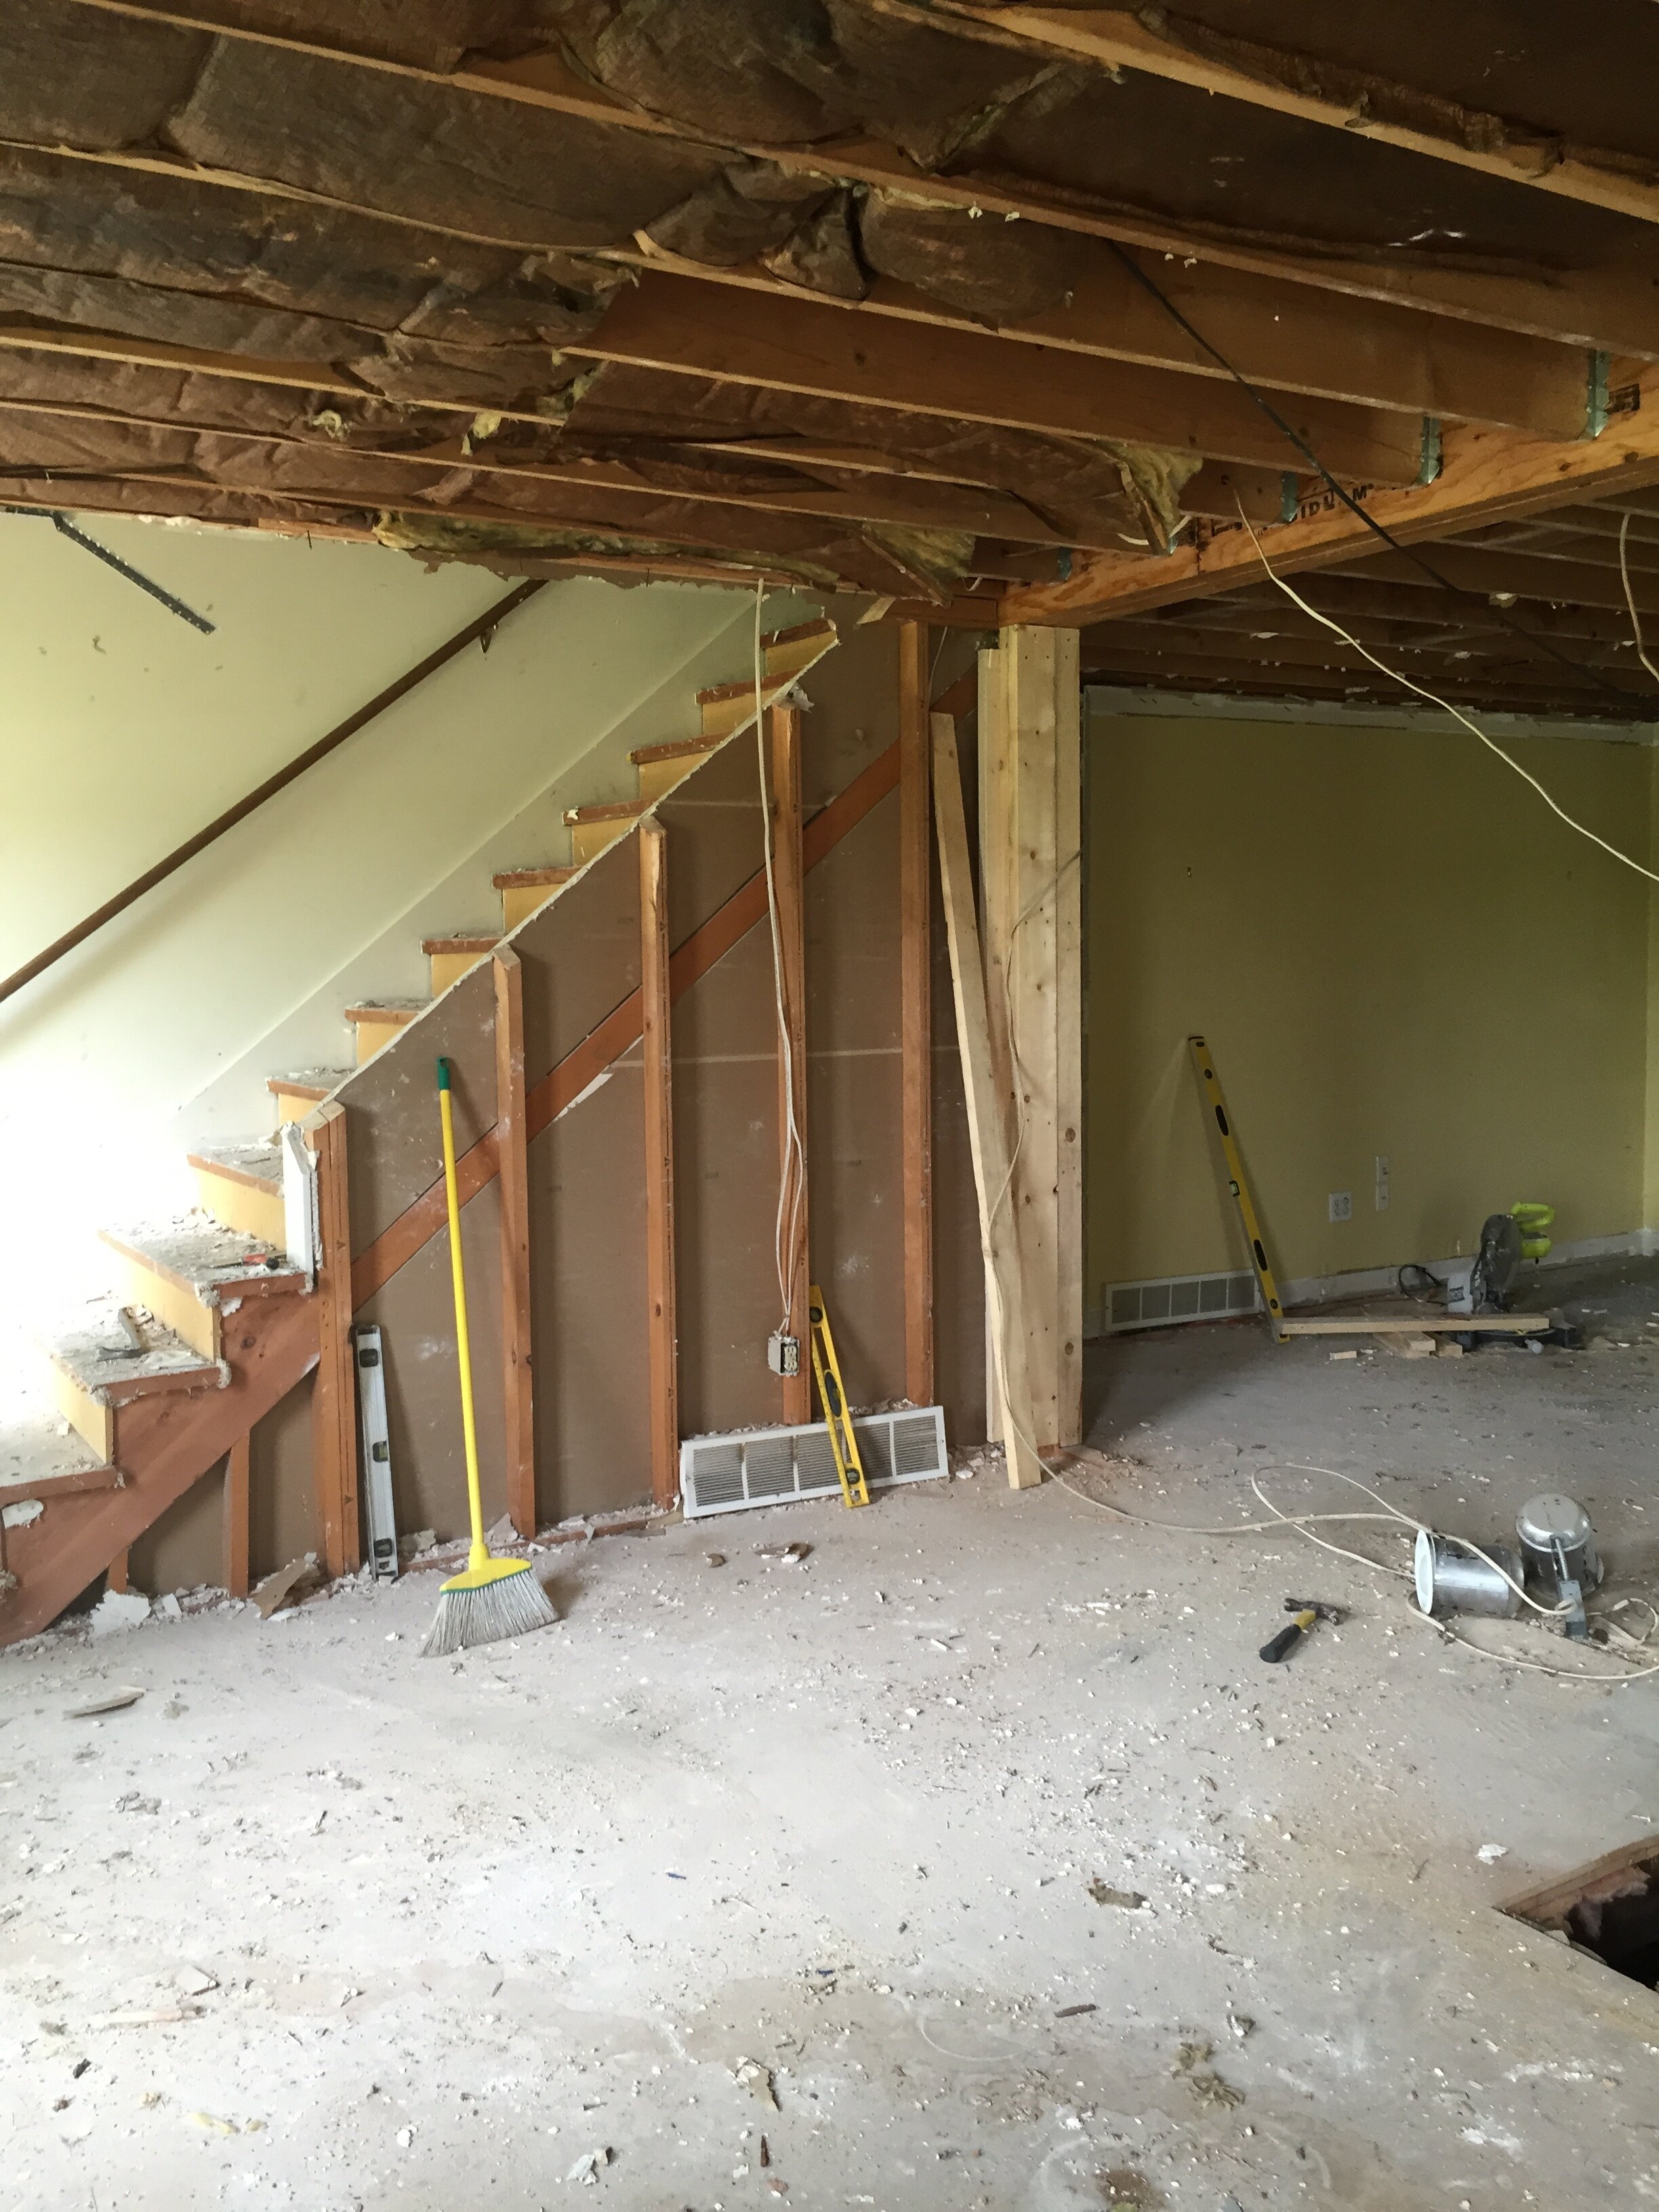
Here we opened up the half wall against the stairs. removed the carpet, removed the drywall on ceiling and walls, and added a few holes in the floor.

Drywall up on ceiling, subfloor replaced with plywood on the floor and Tom installing shiplap on the walls.
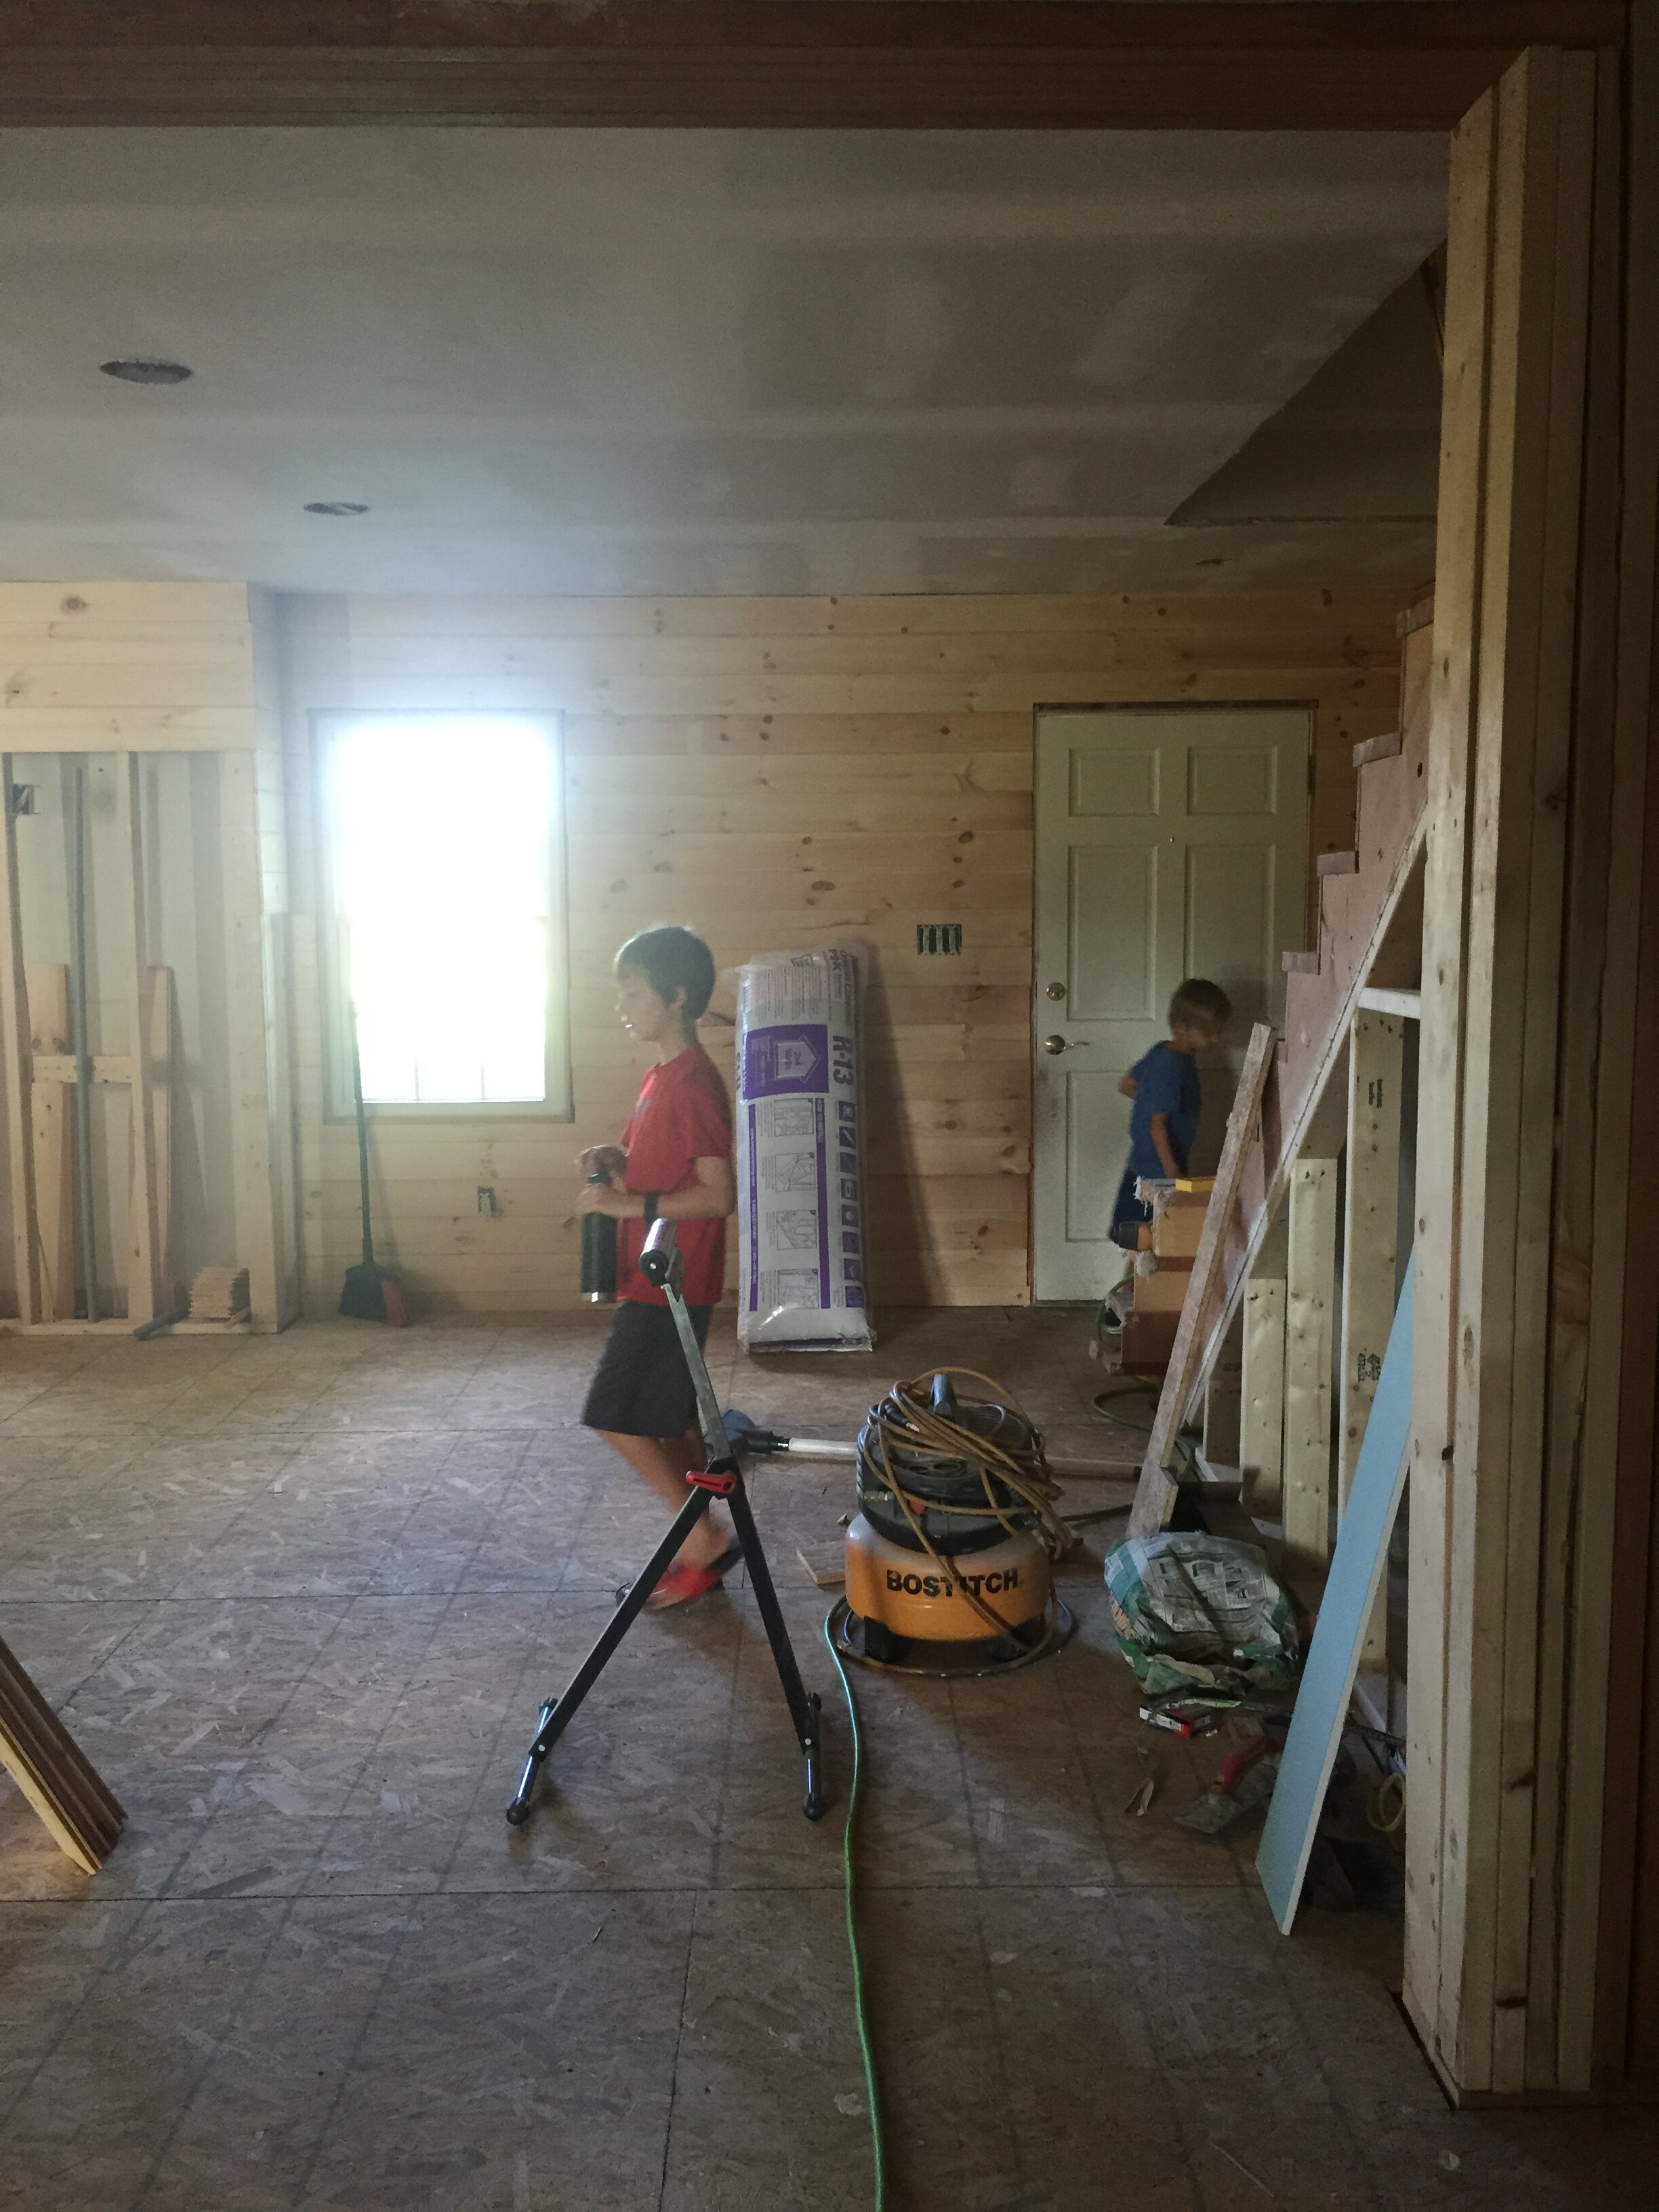
Our little helpers

Hardwood was delivered and making some progress.


New front door, new windows, stair treads a fresh coat of Benjamin Moore Super white, and a custom metal railing-progress.
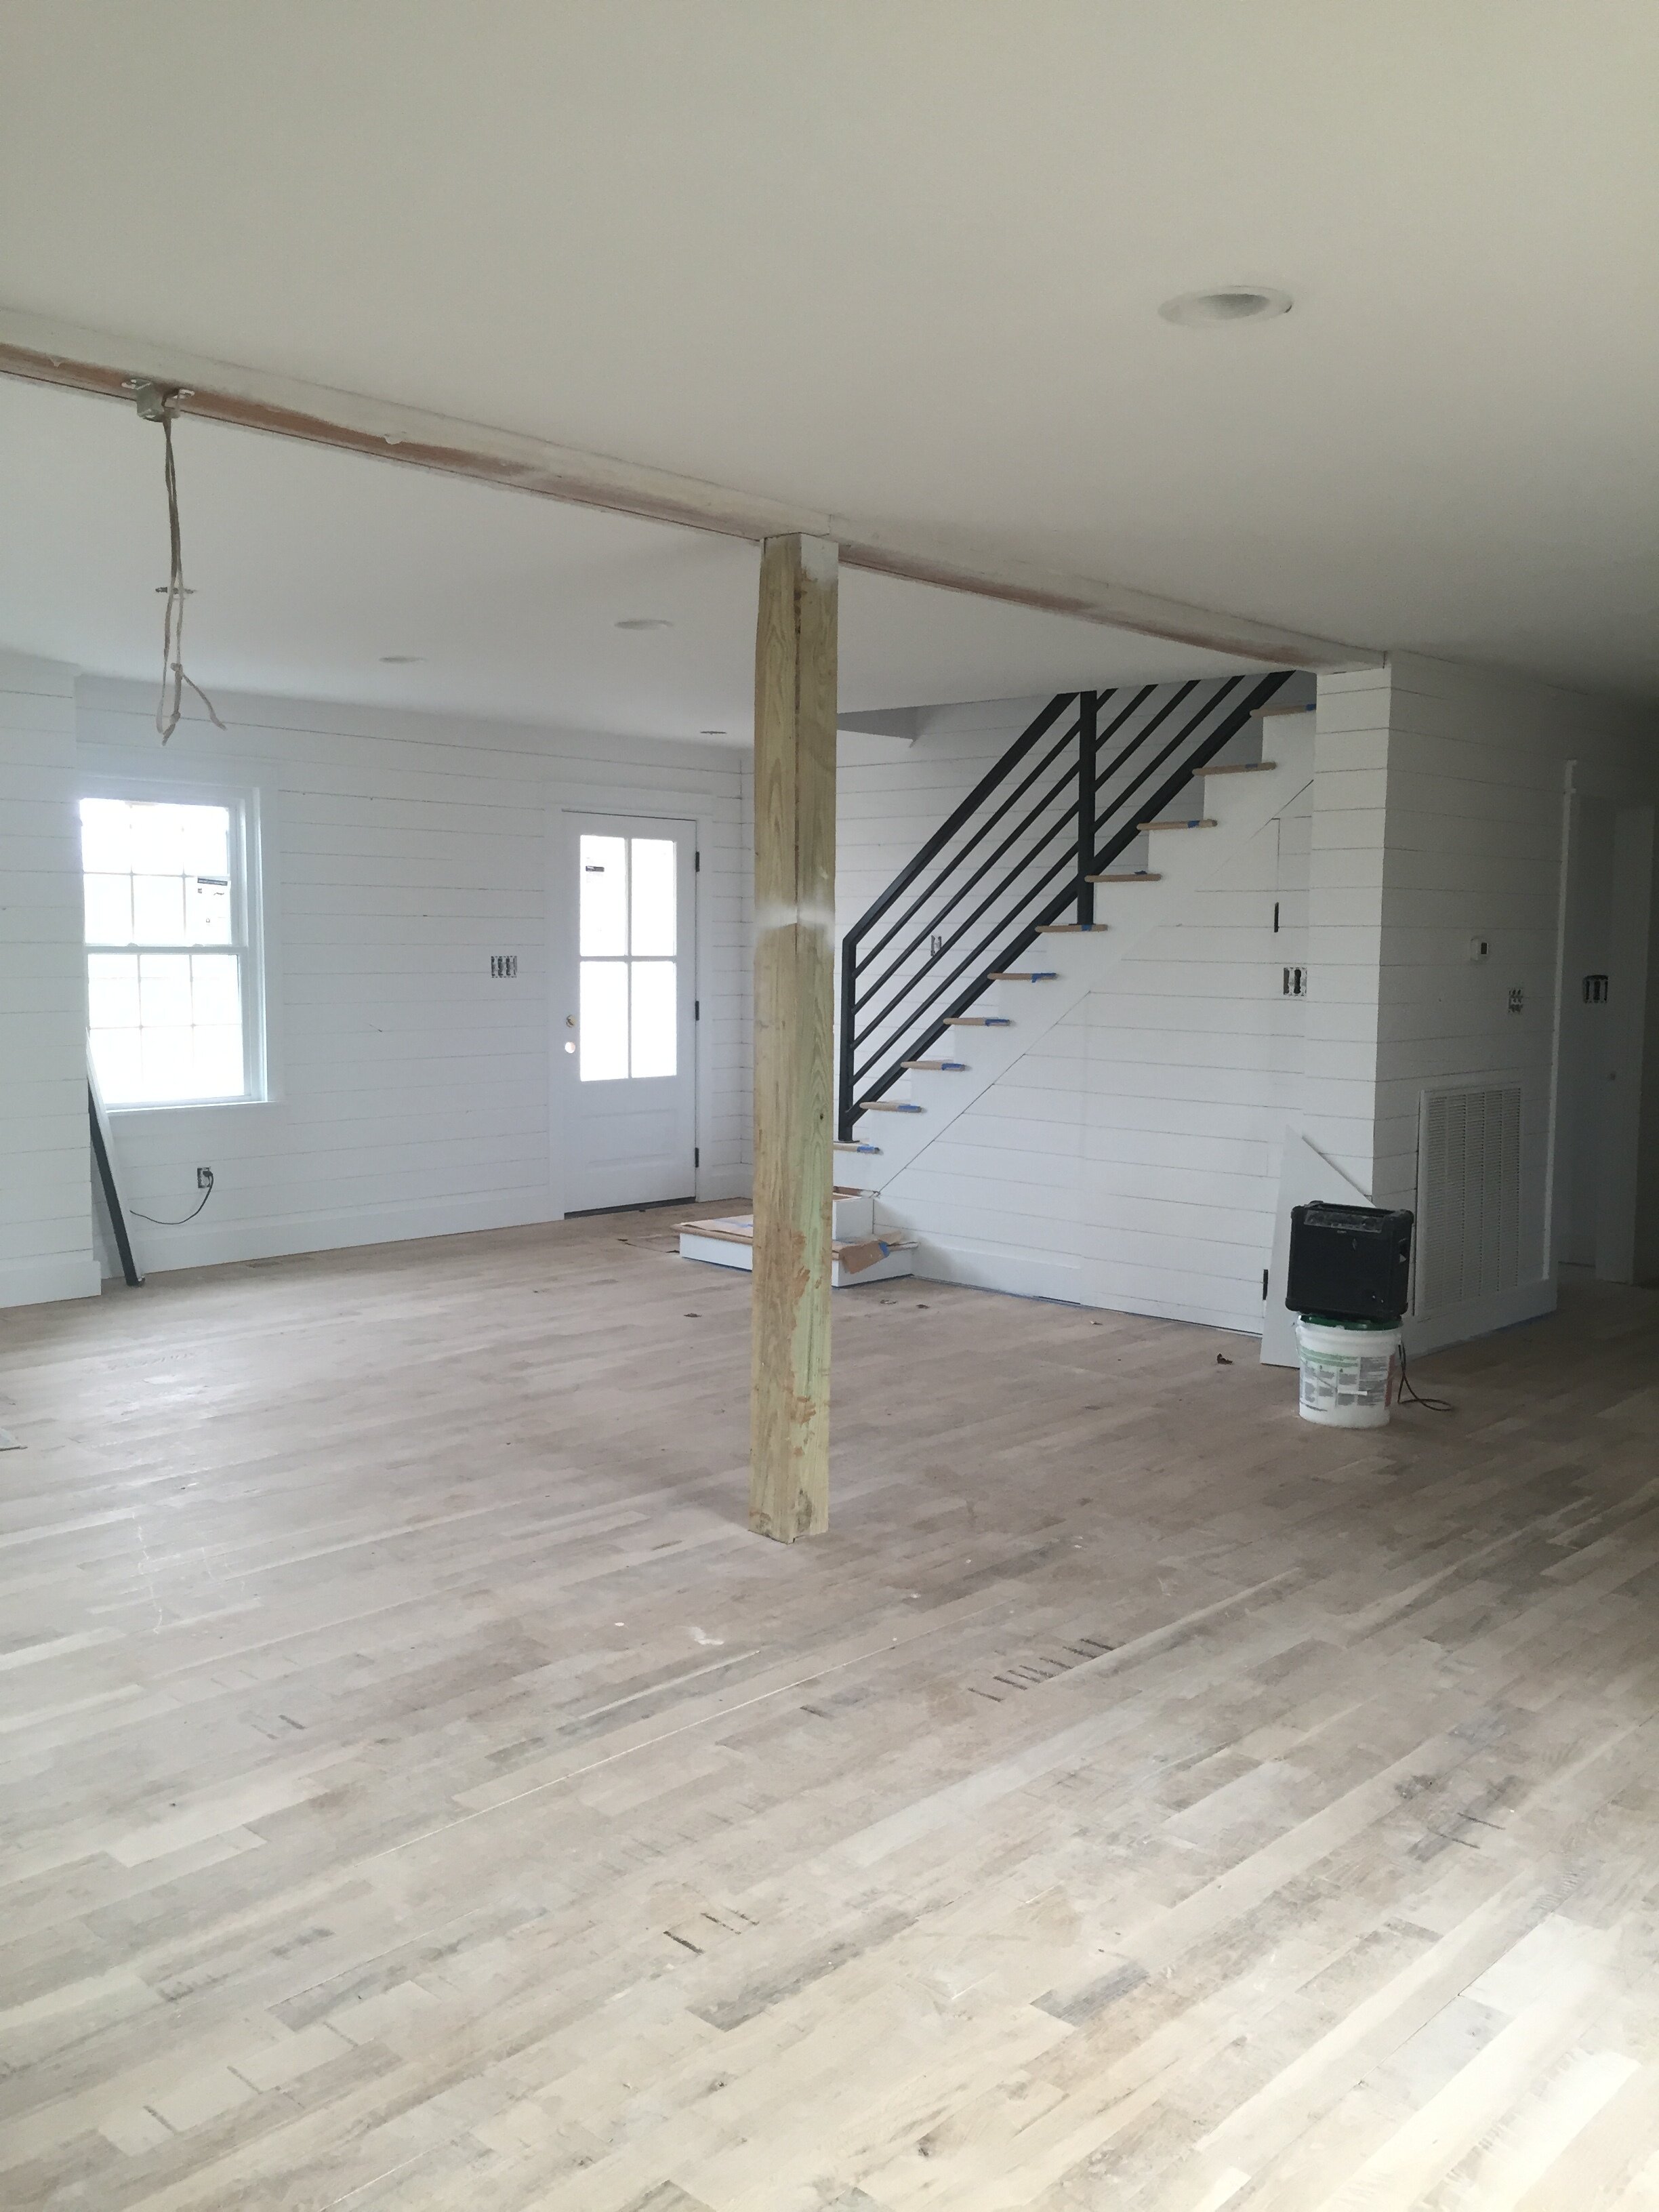
cleaning up to sand and finish the floors.

Nine months after starting demo
We like her a little better now.

She just needed a little TLC. Ready to give your own home a little TLC? Our 1:1 virtual calls are the perfect way to start.